Post-renovation cleaning is the hardest type of cleaning there is. You get one shot at removing construction dust, cement film, and paint splatter properly. Mistakes here leave streaks and scratches for years. Here are the seven mistakes we see every day.
Mistake 1: starting with a wet cloth right after the builders leave
The instinct is to grab a bucket and mop. Don't. A layer of fine construction dust covers every horizontal surface. Water turns it into a thin cement "cream" that smears and gets pressed into tile grout, interior doors, and laminate.
Do this instead: start with a dry pass using a construction or industrial vacuum with a HEPA filter. A household vacuum won't survive — fine dust clogs the filter in 5 minutes. Only after 95% of the dry dust is gone do you go wet.
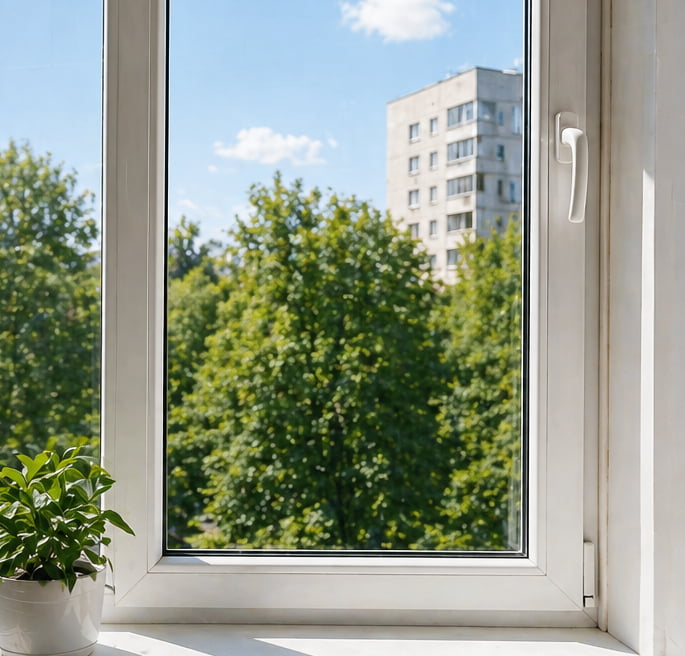
Mistake 2: cleaning windows with regular glass cleaner
After a renovation, glass is dotted with paint drops, cement film, and sometimes filler residue. Household glass cleaner won't touch it. Worse — the alcohol in it can react with the protective film on tinted glass and leave cloudy patches.
Do this instead:
- Soak the spot in warm water with a neutral cleaner for 5–10 minutes
- Carefully scrape paint drops with a glass scraper held at a 30° angle
- Remove cement film with a specialty "post-renovation" product — they have lower pH
Standard glass cleaner only works on clean glass. After a renovation it's useless.
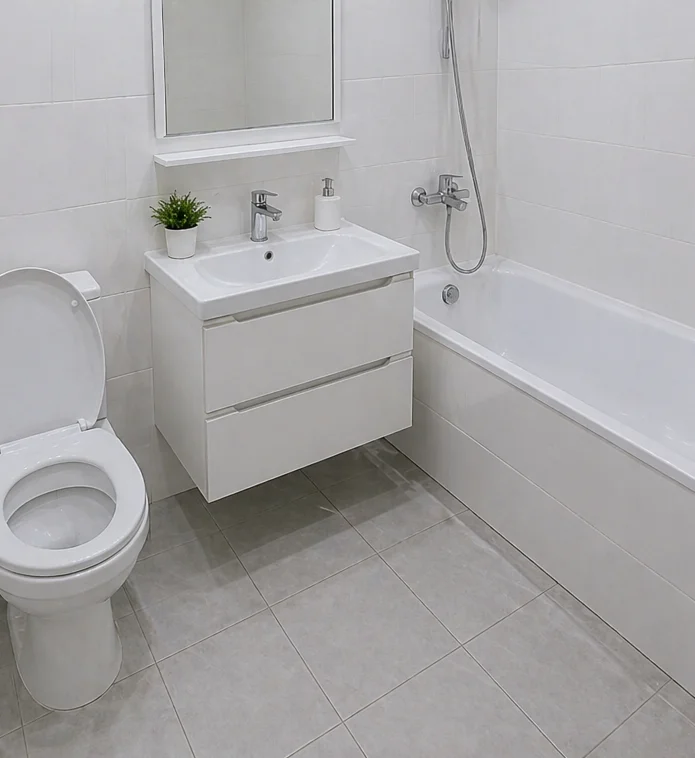
Mistake 3: scrubbing fixtures with an abrasive
The cement film on the bathtub and toilet looks so thick that you reach for a stiff brush and powder. That kills the finish: enamel loses its shine, acrylic gets scratched, chrome picks up micro-scratches.
Do this instead: acid-based products labeled "cement film remover" and a soft sponge. Apply, wait 5–7 minutes, gently rinse. On heavy spots repeat twice — never scrub hard.
Mistake 4: forgetting about ventilation and AC
The nastiest consequence shows up 2–3 weeks later: you switch on the AC and construction dust that built up in the filters and ducts blows out. It coats the apartment you already cleaned, and you start over.
Do this instead:
- Pull the split-system filter and rinse it under the tap
- Remove external vent grilles and wash them in the sink
- Run a soft telescopic brush inside the ducts
Mistake 5: walking in your shoes during cleaning
Any grit or cement on your sole is a scratch on the new laminate or parquet. Same on tile without a matte texture. By the end you'll have a fine network of scratches that catches the light.
Do this instead: wear clean indoor shoes or shoe covers. Wipe the soles with a damp cloth every 30 minutes.
Mistake 6: leaving protective film on windows "for later"
Protective film on plastic windows and fixtures has to come off within 2–3 months. In the sun the adhesive polymerizes and welds to the surface — then it comes off only with solvent and the risk of damaging the finish.
Do this instead: peel film off right after cleaning. If it's already stuck — warm it with a hair dryer to 40 °C, lift an edge carefully, and pull at a 30° angle.
Mistake 7: skimping on a pro team for a large site
A 50 m² apartment after cosmetic work is realistic to clean yourself over a weekend. A 200 m² house after a full renovation is 80+ hours of solo work with real risk of damaging the new finish. The cost of materials you might ruin (parquet, tile, kitchen fronts) far exceeds the price of professional post-renovation cleaning.
The right order — checklist
If you're doing it yourself, stick to this sequence:
- Dry vacuum — top to bottom: ceilings, walls, baseboards, floor
- Bulk debris removal — packaging, offcuts
- Fixtures — peel film, remove cement
- Windows both sides
- Doors, jambs, trim
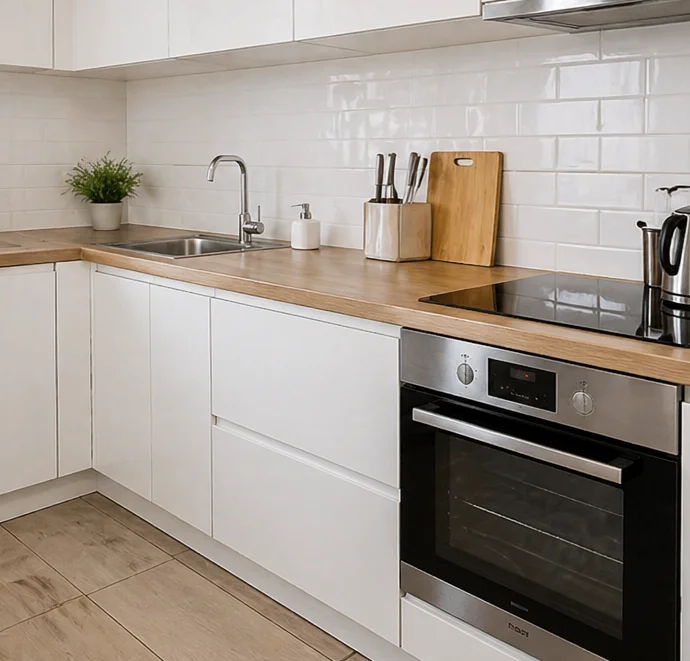
- Inside cabinets and kitchen
- Wet mopping — with frequent water changes
- Outlets and switches — power off
- Final inspection — under strong light, from multiple angles
If at any stage the job looks bigger than you can handle, that's a healthy point to hand it off to a team with industrial vacuums and experience.